Menu
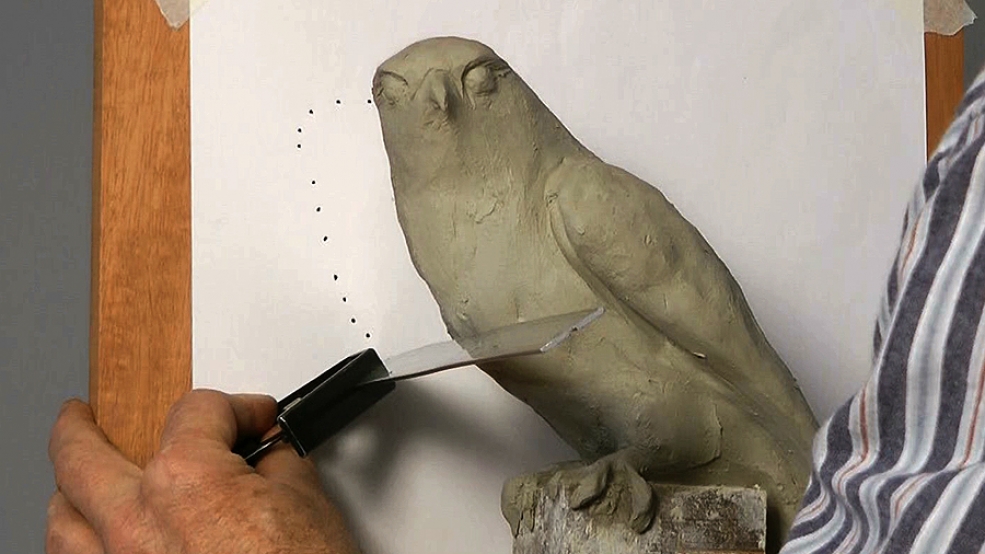
An accurate working drawing, taken from a clay sketch of the Merlin enables us to bandsaw away a lot of preliminary, waste wood.
In this lesson I show you a simple method for taking a 2D drawing (to transfer to your wood) from a 3D model. I strongly urge you to create your own drawing from your own model.
For subscribing members, here is my own working drawing and tool list for the Merlin, as a PDF.

| 02 February 2018 09:01
Sam - Not dumb at all! And a very good idea for a future video. But I wouldn't just use a gouge, it wouldn't be as efficient as using a hands and starting with a square or rectangular section of wood and your 2 working profits (as if you had a bandsaw):
1. Draw the profile on both sides, 'registering' with lines so they are accurately matched on either side.
2. On one edge, use a crosscut saw make a series of cuts (say 3/4-1" 20-25mm apart) across the grained down to just above the line.
3. You now have weak short-grain fingers of wood you can chop off.
4. Clean up accurately with your gouges, or rasps, keeping the new surface square to the other faces.
5. Repeat 2-4 on the opposite edge.
6. Draw the second profile on the new faces, registering as before.
7. Repeat the sawing etc.
You should be left with a squared, profile starting block as if you had a bandsaw, ready to start the carving.
Hope this makes sense! It's a good workout too!
We have workshops in carving straight from a log (Owl) coming up very soon.

| 31 January 2018 21:20
Would it be dumb to just try and chunk out the initial shape with gauges instead of a bandsaw? Part of what I'm wondering is if the gauges are only meant to take off smaller pieces of wood, or if they can be used to take off larger pieces of wood without damaging them. Or, if there was another hand tool that could work for larger blocking out of the initial shape. I'm not against the bandsaw, it's just I don't have one and I'm also curious about this anyways. Like how did people do the first blockout stages of a carving 100's of years ago before power tools?
Thanks so much Chris, I am grateful for your teaching and this site. I am getting really excited to practice, and watch more lessons.
| 31 January 2018 17:05
Sam - A bandsaw is probably the most useful machine for the woodcarver. It will deal with depths that jigsaws (or scroll saws) can't handle. It's quite an investment of course. Alternatively, you just need to know someone who can do the occasional cut out for you.
| 31 January 2018 14:53
Hi Chris. I was wondering if a bandsaw is needed to cut out the big shape of a block to be carved in the round, or if you could use a jigsaw instead. I am new to woodcarving, and I'm trying to decide what tools I need to buy. Thanks so much for the videos, I'm learning a lot. --Sam
| 16 January 2016 16:15
Thomas - Funnily enough, it's nothing like as complicated as you might think, and quite fun! You really get up close, hands on, to the model so there's as sort of studied intimacy. Putting aside issues of parallax or getting the exact size without having to enlarge the picture, the most important point is that not everyone has a decent camera or the ability to print - thus you'll see I offer all sorts of low tech solutions on the website. On the other hand, I'm all for high tech solutions if you have them. Hope to see your carving in the members gallery!
| 13 January 2016 14:51
Hello Chris,
why so complicated? :) I took a tripod and my Camera, take two pictures und print it out.
When you turn the Model for 90 degree you get two sights, i have the same result in a short time.
And i have the opportunity to print in in different sizes. To accurate the size you can place a ruler beside the Model.
Best regards from Germany,
Thomas