Menu
The shirt tails are the lowest parts of the shirt and which normally tuck in. The ones at the back are visible and, being fabric, undulate along with the shirttails at the front. Check your model carefully before carving back wood back to create the rear shirt tails. Still no undercutting of those ones above (the front).
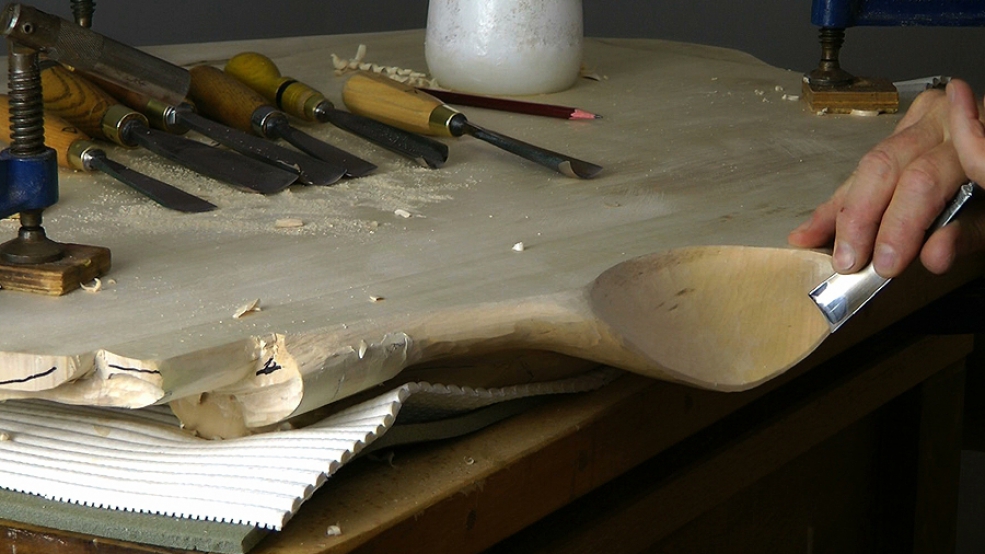
At this point, you can turn the shirt over and backcut the rear shirt tails. Only take as much wood as you need to get the effect of lightness, and finish off neatly, leaving an edge of about 1/8" 3mm.
From there you can continue the backcutting around the cuffs and up the sleeves. Leave the shoulders and collars until you've see the next lesson: Shirt 10.

| 06 November 2013 14:37
Eric - I think you understand the process well. Deep gouges (#8 or 9) are also called 'quick' gouges and yes, these are first in to remove as much waste as possible. But NOT U-shaped gouges, the sides of which tend to squeeze together if you bury rhem and the blade may snap - see Tools > U-shaped Gouges. As you get into your carving and shallower cuts are needed, the gouges become shallower until they become 'flat' for surface finishing. Look at this video: In the Round > Pelican > 13 Afterthoughts...

| 06 November 2013 05:18
Beginner's question: Based on my limited carving experience so far, what I have gathered is that you use a deeper sweep the more you want to take off more material at once, and especially for cross-grain rough removal. Then move to more shallow sweeps to clean up, eventually using a #3 or #2 to finish off. Am I on the right track with this concept? Other than matching a U-gouge to a contour for finish work, is a U-gouge good for very rough removal, especially cross-grain? Is there a general limit to the sweep you use for roughing out work?