Menu
We need here a sort of sneaking up. We start with crucial reference points.
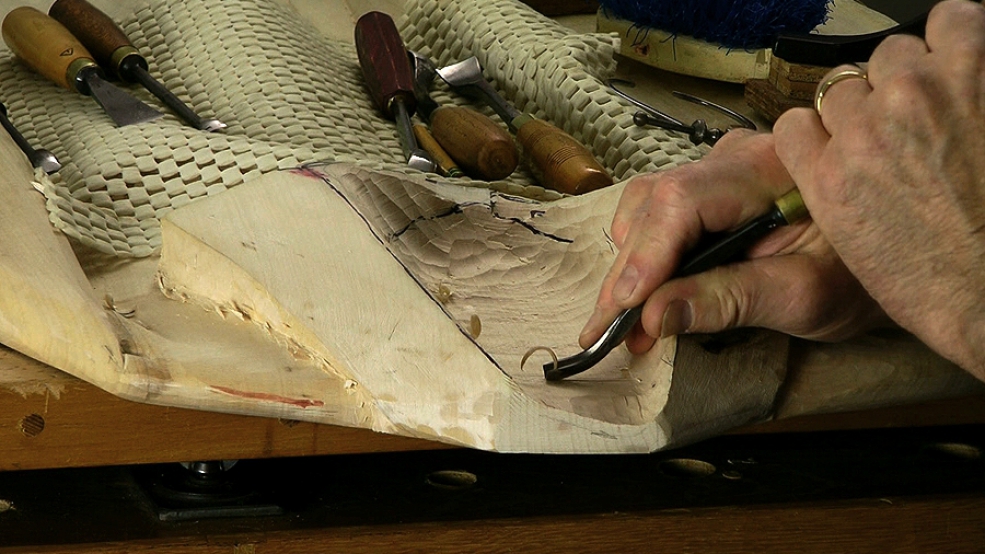
Normally I work my carvings as a whole, not finishing one part ahead of the rest. Here, however, although I've bosted in the collar, I've pretty much finished the rest of the shirt - the sleeves, cuffs, shirttails and button strips - and left the collar alone.
To me, the shirt here is sculpture: the dramatic collar with its hanger is what makes the shirt 'work'; the folds and button strip lead the eye upwards to stop at that strong band of colour which is the hanger; the rest of the shirt is just a foil, supporting cast so to speak, for the collar.
The collar is also the hardest, and weakest, part of the carving but, step by step, there's a logic to how we can carve it safely. Placing the hanger at the right depth within the shirt and establishing the wrap of the collar are crucial starting points; from here, everything else follows. Take it easy and keep checking!
Scraper: If you haven't already seen the video, I show you how to make and use a woodcarver's scraper here.