Menu
This is a great project for beginners, and indeed the Beginners Section on Woodcarving Workshops.tv is where it's home is.
I've 'mirrored' it here because experienced carvers will find a project that they can run with. Once you have the basic feather, you can ring the changes - size, shape etc. Why not add feathers to a frame or a piece of furniture? You can use the paper-sandwich method of holding and apply with secret nailing.
We have here a straight forward, step-by-step process that gets you from A (blank wood) to B (finished carving). In fact you will have seen them in the Beginners Flower Project. I'm also only using the 4 tools recommended in the Beginners section, which might be a little surprising given how different the 2 projects look in complexity. Just goes to show you how a few tools will go a long way!
Wood: I'm using Jelutong, a sort of rubber tree timber, but this is not so easy to get hold of. Good light-coloured alternatives would be Limewood or Basswood.
More about:
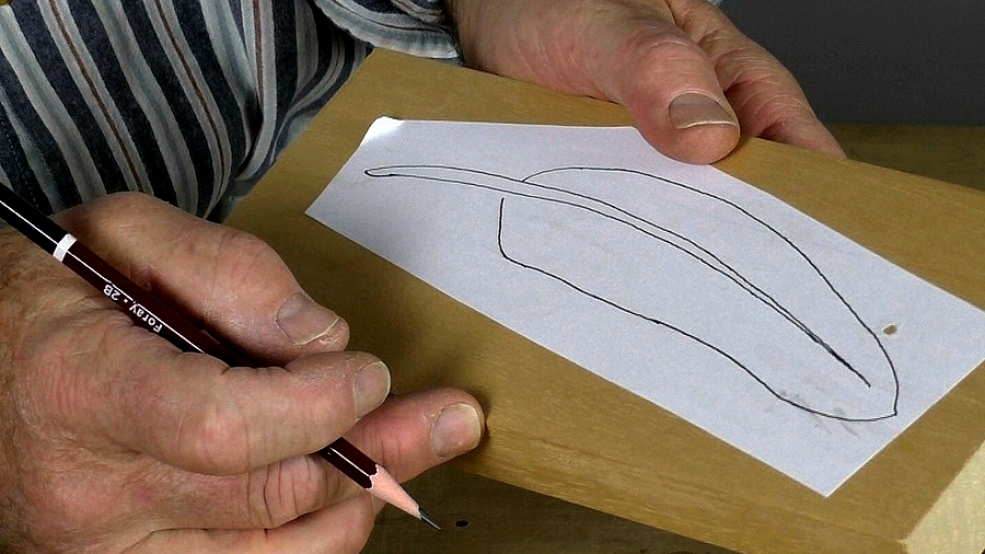
Working drawing: in the download below

| 26 June 2020 12:41
David - Absolutely! Get your drawing on the wood any way you like.
The reason I use paper here and elsewhere in the workshops is so you can readily and easily see what wood I am removing and what I'm leaving behind as I go along. In my own work, I will mostly draw directly on the wood surface.

| 21 June 2020 22:47
Chris, Is it absolutely necessary to glue the pattern to the wood or can I pencil the back of it and transfer to design directly to the wood? And then darken and define the lines with pencil. I have always used this method instead of using carbon paper. Thanks
| 27 July 2019 15:57
Imran - At 60deg. the 6 and 10mm will give the same cut, only you can go deeper with the wider one. The narrower tool is just a lighter version. So, yes, you can use either.

| 27 July 2019 09:06
Hi Chris,
For the lining in, the V tool that is captioned on the screen reads 6 mm. Is that what needs to be used or a 10 mm would work as well? Thanks
| 25 March 2017 07:31
Jeffrey - I often use a spray-on glue called 'photo mount', which has an instant, light tack.
I know some carvers who print onto labels. In this workshop I'm really trying to give you an idea of how feathers 'work'. The size or the tools aren't so important as just having a go with what you've got.
Try designing different sizes of feathers?
What happens when you increase their thickness?

| 24 March 2017 17:50
I take it that you've used a light or removable spray glue to position the pattern on the wood surface. Also, lacking explicit dimensions of the jelutong, we simply use our judgement once we've printed the pattern out on A4 paper. Or alternatively, scale the printout to the piece of wood we can get. Unless I'm wrong, no answer is necessary. -- Jeff