Menu
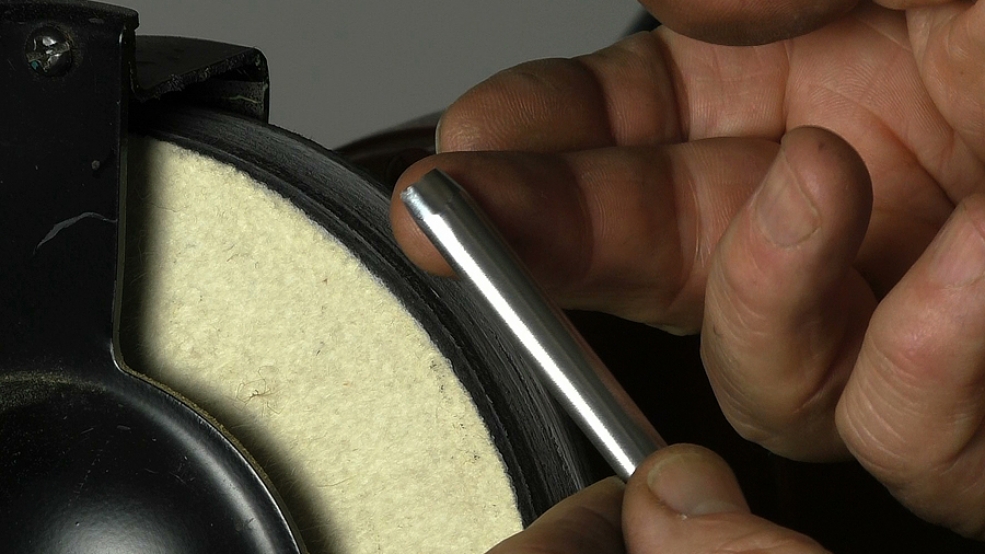
A lot of carvers use power wheels to maintain their gouges. In this lesson I pick up the baton from the part 1, look at the best way to go about it and flag up some of the pitfalls.
You'll find more information and lessons on power sharpening in the Sharpening section of Woodcarving Workshops.
In the video you see me using the wheels without the tool rests that came with the machines. I took them off, finding them too short for the side-on approach, and am relying on my huge experience of holding and manipulating tools on grinding wheels.
But you really should use a tool rest; it's safer and will give you better control.
Look at the video on modifying a skew chisel here. I've connected the 2 wheels with a long piece of metal (wood will do) that extends beyond the width of the machine. This works really well and is what I have susequently fitted.

| 13 August 2021 13:38
Andrew - I've never done (or seen) it, but don't see why not. With a HARD grinding wheel, the wisdom is NOT to use the side: the wheels are brittle, spinning extremely fast and not designed for side pressure, so there is the danger of shattering. A (hard) felt wheel is sort of all stitched together and flexible, even to a small degree, so this won't happen. You should still use light pressure.
On the other hand, I've never needed to use the side of a hard felt wheel. The trick is in the geometry of how you are offering the bevel to the wheel surface. You don't have to keep the bevel dead still, as if you were using a jig. Try and visualise what you are trying to achieve with the abrasive and shape of the wheel and make micro adjustments.
Let us know how you get on!

| 12 August 2021 10:31
Chris - Is it possible to use the side of a hard felt wheel for honing, e.g. to touch up the chisels on a V-tool?
| 22 October 2019 08:44
Richard - Well spotted! Yes, the left wheel is indeed harder and made from compressed paper. As far as I know, the like has not been available for a long while so I've tended not to flag it up. Hard felt - and felt comes in degrees of hardness - will do. You need to press lightly so as not to distort the surface, letting the abrasive do the work; we want to keep the working surface flat for the outer bevel.
(As I write this, I wonder if soaking the working felt surface in dilute wood glue would stiffen it up to compressed paper level?)
I don't know about the shaped felt wheels that you can buy but I have shaped my own for the inner bevel using a scraper-type edge. Very dusty - do wear a face mask!
| 20 October 2019 22:15
I'm curious about the "hard" wheel - I thought you said they were both felt, but the hard one sure sounded and looked like it might be MDF or some sort of paper/composite wheel. Any comments on those types of wheels. Also there are various shaped felt wheels - are they worth using?
Thanks, and I'm really enjoying the videos.
Richard