Menu
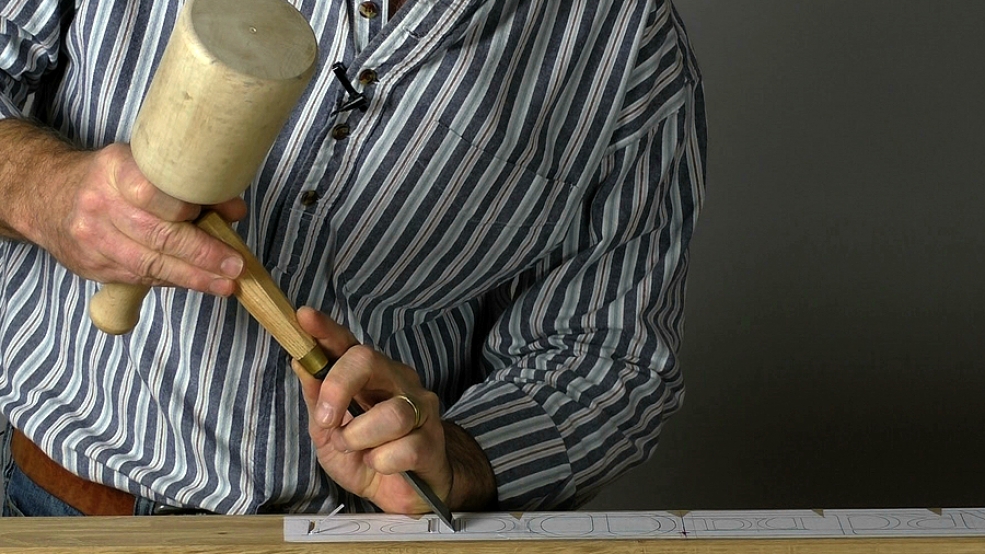
There are surely many ways of carving letters, one of which would be to start at one end and work along until you come to the other.
Another way, one which I always follow, is to take it step by step and deal with common elements at the same time - as far as possible. The advantage of this approach is that you get a consistent look by repeating the same cut and movement.

| 11 November 2020 14:07
Chris. I'm making the middle cut and then cutting from both sides but the wood still seems to cling on at the top and bottom. Hoow do I remedy this and/or where am I going wrong? Thanks, Adam

| 22 November 2016 07:50
Daniel - The wood I am using is air-dried European Oak.
| 21 November 2016 19:49
What type of wood is that?
| 25 February 2016 21:40
Vaughan - That sounds a good idea and worth trying. It'll still need consistency with the deeper angled cuts but you'd start well. That's for the suggestion!
| 24 February 2016 20:51
You point out the difficulty of moving the chisel when letter carving at approx 5 mins into this video. As you make a small stop cut with your first strike of the mallet. At this point wouldn't it be easier to then slide or shunt the chisel along to the required width and then strike a stop cut and continue with the process of aiming for the root of the letter? You will then be left with a stop cut in the required position when you move the chisel to complete that side of the letter