Menu
You've got your design and model; you've got your wood block held ready to begin - now what?
The answer is.... stop! Pause. Think ahead. Visualise. And this is what I do with you here.
Then you start 'bosting in', a long-standing woodcarvers' term for finding the underlying forms and articulations; the 'big picture' - bosting more than just 'roughing out' - and setting the scene for later development.
You can also consider the bosting stage as a series of 'passes', which continue over the next few workshops. I've then used terms like 'refining' and 'focusing' for these later stages. (To be honest, I haven't quite worked out how best to describe the whole carving process for you, as broken down for these videos. But I hope you get the idea of a reiterating flow.)
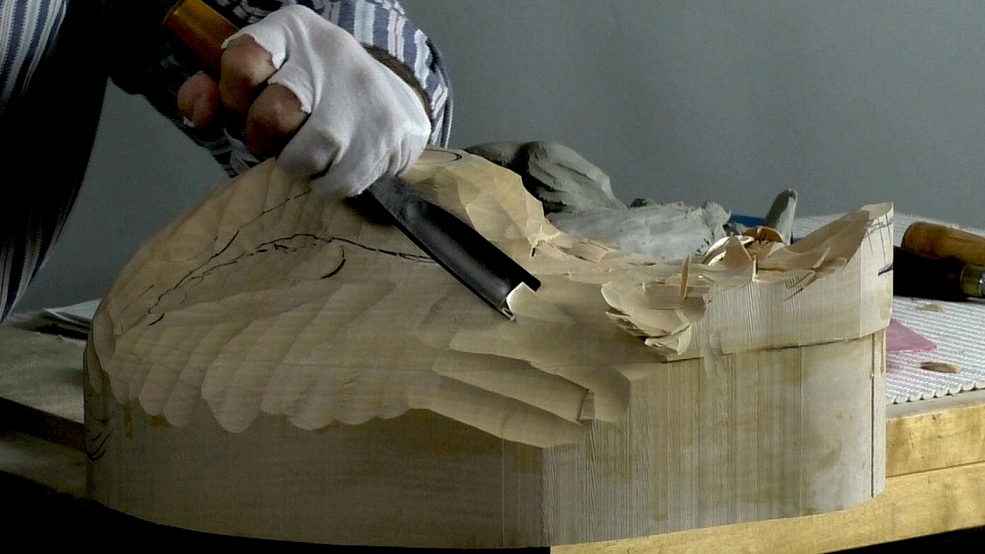
Power tools? If you want. There's a lot of wood to be removed in what is now a largish carving, and there is no moral high-ground to working by hand. But I like using the mallet and gouge; it suits the speed at which I feel my way into the carving
Caution! Mallet work, especially in a studio with hard surfaces, can be loud and sharp. I strongly suggest you consider ear defenders.
Related Videos: