Menu
Of course, when you see me at the very beginning, I've finished the carving. But when I start talking, about preparation and making the model etc, I hadn't begun! - the swan was a figment of my imagination.
As all journeys, you have to start somewhere, usually at the beginning. But in this case that doesn't mean starting with the carving tools, or the wood. You start by thinking about your swan and visualising what it will look like: what direction you are travelling in.
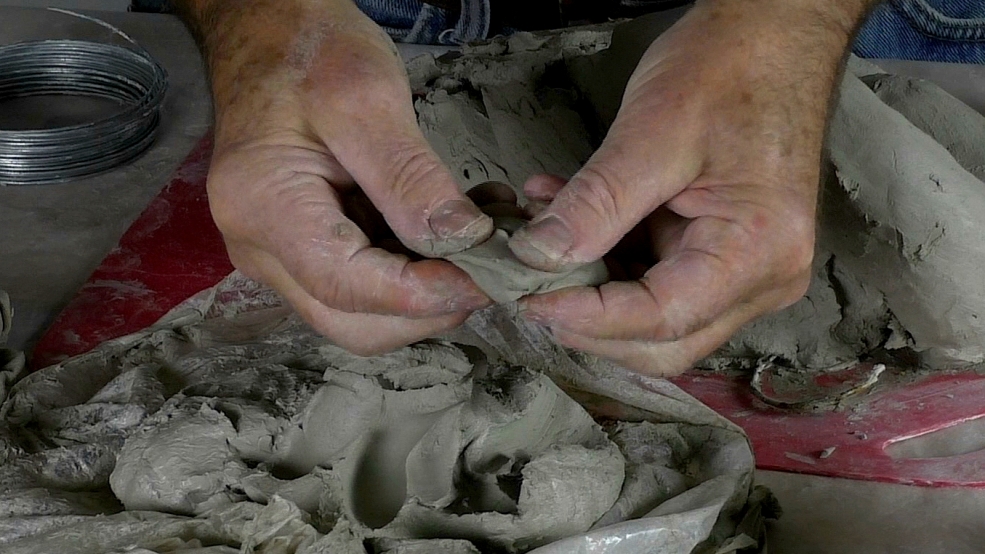
For this preliminary stage you'll need pictures and - I can't emphasise how useful this is - to make a model. It's not a gallery model, it's a 3D sketch that will help you get going in many ways. As soon as you are past the 'point of recognition', you'll discard it. By the end you'll see I made 3 clay models.
Carving this swan was a bit of a journey, developing and changing things as I went along. So you can see that my first clay model doesn't have the 'lift' with which I ended up. And that's what I expect will happen to you as well. Don't copy me, or my model; you may well see things differently. Think of it as your own exoploration or journey and what I'm doing here is a guide and general approach.
Related Videos
Also look at the Blog here: What's with Clay Modelling?

| 08 March 2023 10:40
Thank you for your prompt answer. As to calipers, dividers, or mirrors I do use them.
I was looking for something offbeat. I liked your trick when you put a card with marked centerline and brow spacing over the swan’s head, or a masking tape used as a level. I will surely include them into my repertoire.
As regards figure carving it is indeed challenging. But thanks to that I will not fall into a rut even after years of exploring this topic (and I’m only in the beginning). I will post my most recent work in the gallery although I’m still in the process of learning and finding my own style.

| 08 March 2023 08:41
Grzegorz - Thanks for the kind comments. Although Woodcarving Workshops is based around projects, I see these more as a vehicle for demonstrating woodcarving techniques that are applicable elsewhere. You see me using the same fundamental skills over and over again, just applied to different endeavours.
And this principle would include figure carving. The reason I don't have it on the site is because you need to start with a very good understanding of anatomy, bone structure, muscles and so on, and that felt beyond my remit. But the point is, I wouldn't be using different carving techniques to those I use elsewhere - including lettering!
So I'm very happy to hear that you use the site in the way you do.
As for symmetry, feel free to use callipers, dividers, templates - anything to check or carry measurements from one part to another. Your eye can be deceived! With a face, I always draw in a centre line and then, once I have the forms well bosted in, accurate horizontal lines.
A good trick is to check your work in a mirror.
Hope this helps - and we see some of your work in the gallery!
| 07 March 2023 13:06
Thank you for showing another interesting video. I do not copy your projects as I’m more interested in carving human figure in the round, however, your videos are a real wealth of knowledge and inspiration for me.
I was wondering if you have any tips and tricks for preserving symmetry in the round carvings? For example, when carving human figure or animal how do you keep ears and eyes on the same level, how do you get similar ears (or limbs, hands, paws, etc.) on both sides?
Any tips would be much appreciated.