Menu
In woodcarving, the term 'ground' is the plane on which sits some element of the work.
The 'back-ground' to a relief carving would be an example, obviously the ground at the back. Think of a sleeve with a button: the sleeve is the 'ground' for the button, in effect a background. You would lower the wood around the button in a similar way to any flat relief carving.
So that's a 'ground'. There are 2 sorts:
In both cases, measuring the depth of the ground, the thickness of the wood at any point, is very important.
As a rule, you want to use the full thickness of the wood, otherwise why not use thinner wood. You can use your eye, or your finger and thumb of course. But sometimes you need to be very accurate...
Making a depth gauge: here
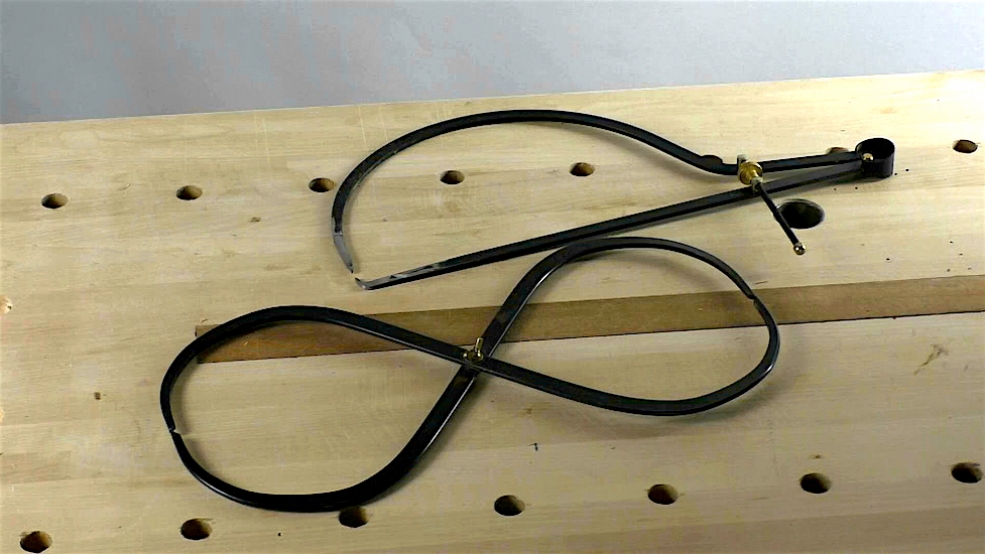
Callipers (also spelled 'calipers'):

| 23 April 2019 19:39
I Just took a photo of something I'm working on.
This definitely helped me to see whether I was on the right track or not.
Thanks.
| 07 April 2019 21:13
Thank you very much for the quick response, and very helpful suggestions.
I'm certainly glad I decided to become a member here.

| 05 April 2019 11:18
Mark - That's a good question! Without a reference point such as the original surface of a relief carving, you are left depending much more on your eye.
Some thoughts that might help:
1. You can draw a centre line down face or similar symmetrical carving. I think the symmetry is more important often than exact equal depth.
2. You can mock up a virtual plane across the front of a face, with a rule, and measure from that.
3. Remember that everything is relative to everything else. So, when you are carving in the round, carve from the surface - the original 'high spot - to a depth somewhere which become a second reference point or high spot - and so on. You try to get the main reference points in when you are bosting. Take it easy at the bosting stage, it's by far the most important: you should establish and maintain the correct depths at this stage.
4. You can stand back and just look. We remarkably good at seeing differences and if you feel it doesn't look right, it probably isn't. So, what is?
5. Look at the carving in a mirror, or take a photo, change the lighting to get a fresh eye.
6. Sometimes I make a model that has important measurement in and brutalise it when I need to.
I hope this helps! And best of luck with your carving. The more you do, the more you'll visualise what you are aiming for and trust yourself to feel your way into the right depths.
| 02 April 2019 00:07
New subscriber, I have learned a great deal from your lectures already, thank you very much.
My question is, how do you measure depth where there is no flat surface anywhere, for a reference point..... for instance getting the two eyes the same depth on a carving in the round of a human head? Or the cheeks the same depth? (assuming you have the full head roughed out or carved)
Thanks.