Menu
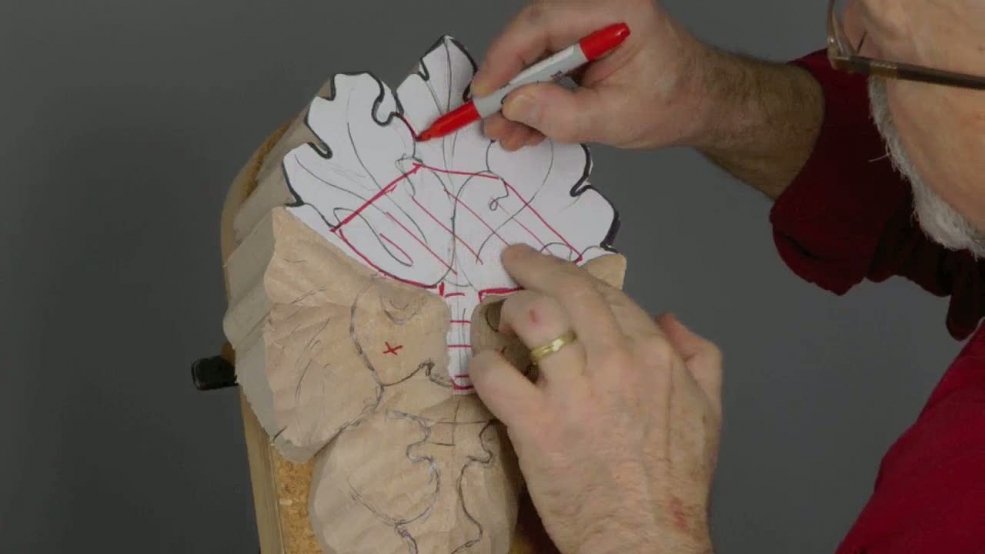
Making a 'first pass' around the Green Man and getting the main forms in place and overall flow. Biggish gouges.
A good rule of thumb at this stage: Keep everything soft and simple.

| 02 May 2013 17:12
Hi Chris
Thanks for your reply 11/8/2012. Since then I have compleated the Brunly Green man, plus 4 others,7 Welsh love spoons and 2 mirror frames, oh yes and 1walking stick. also I bought a band saw, your comment, not to buy one too small,is verry good advise. the one I bought is just right for me, more by luck than jugement.
But why did you not give a warning that carving is ADICTIVE.
Many thanks for the best tutorials around.
Eric March.

| 11 August 2012 07:26
Eric - Not a stupid question! Whether, and how, you use a mallet depends on several things. Essentially, use a mallet whenever the wood is too hard to push your carving tool through by hand. But, as you infer, there's a spectrum: you can strike a big gouge hard with a heavy mallet or tap a small gouge gently with a light one. So having a couple of different weight mallets is a good idea (as I suggest in the lesson on mallets). In the end, I'd just go by feel and common sense and not worry too much. Great to hear you are tackling the Green Man!
| 09 August 2012 14:01
Hi Chris,
I have been retired from servile work for 4 years, and have taken up carving about 6 months ago. O.k here is the stupid question. The largest gouge i have is No7 20mm, how small can i go using a mallet. My chisels are by Ashley Isles and Henry Taylor. I have 9 gouges 1 V tool 2 flat chisles. I have bought a block of lime to try the green man.
Eric March.
| 22 May 2012 06:20
Linda - We're planning a change to the site where all the working drawing PDF's, fleshed out with some finished-photos, will be gathered onto a single page accessible to members. Not sure when exactly but it's in the pipeline.
| 19 May 2012 18:38
Chris'
I have studied your video several times and am just about ready to give this project a try. I tried to print out a finished picture of the Green Man so that I would have it to look at as I worked. For some reason this video does not allow this action. My carving work area is not where I can watch the video and carve, so I have made notes as you have gone along, but a finished picture of the project would really help. Would you be willing to add a PDF of the finished project as a aid to go with this video, like the PDF you supplied of the patten to help us get started? I think it would be a wonderful addition to this remarkable video.
Thank you,
Linda Smothers
| 18 May 2011 06:59
I've put the wood dimensions, including thickness (2.75in/70mm) in the working drawing, which you can download as a PDF from beneath parts 1 and 2 of the series. You can, of course, carve our Green Man from thinner wood but the relatively thick timber I use here allows for lots of lovely shadows and thus drama.
| 18 May 2011 01:29
Good job! Would like to know how thick that piece of wood is and it's other dimensions? Or did I miss that some where?

| 25 April 2011 18:02
This looks great...and quite challenging. Just what I need...another project to start! ;-)
RussL.