Menu
First step? ... Stop!
Have a good think: Plan what you are doing. Highest spots and lowest. How 'this' will run into 'that'? Visualise. Try to 'feel' how this carving will work.
Think big. This is a first pass - 'bosting in' as carvers call it - getting the main forms in place; don't be thinking details, just big picture.
Notes about Undercutting: Undercutting adds drama and weakens the edges so we normally only undercut enough to do make the effect.
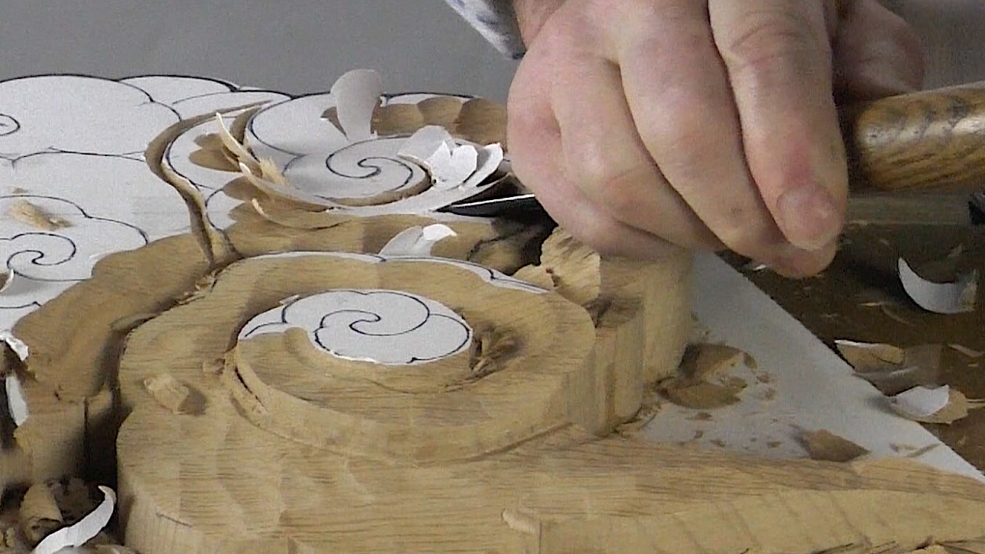
(1) I see this carving hanging quite high up on the wall (clouds - yes?) and viewed from below. The clouds are angled to the viewer thus the carving as a whole 'slopes'. Overall the wood is fatter towards the ceiling and thinner towards the floor.
(2)At the same time, the centres of the clouds, the volutes are left as close to the original surface as possible.
(3) The lower, more visible cloud edges will be seen more and need more undercutting for a lighter, bigger effect. The upper, further away and hidden edges need much less.
(4) Undercutting is last thing we'll be doing in any carving - once undercut, we cannot reduce the depth of that part without compromising the edge. So don't start undercutting now; get the edges in the right place and imagine it.
If you put 'undercutting' in the search box, top left, you'll find it discussed and happening in quite a few video projects on Woodcarving Workshops.