Menu
Turn ordinary into beautiful with this classic rope pattern. Apply to anything cylindrical and you get an almost mesmeric appeal.
OK, so you don't want candlesticks. But how about a four-poster bed? What about one of those pedestal plant stands? Once you get the hang of carving the rope effect, which is a great little exercise in lines and surfaces by the way, you have the means to decorate a wide variety of things cylindrical. (I'm not kidding about the bed either! If you look at the download you'll see some lovely spiral bedposts that are made in a very similar way.)
In this lesson I'll go over the turning and holding.
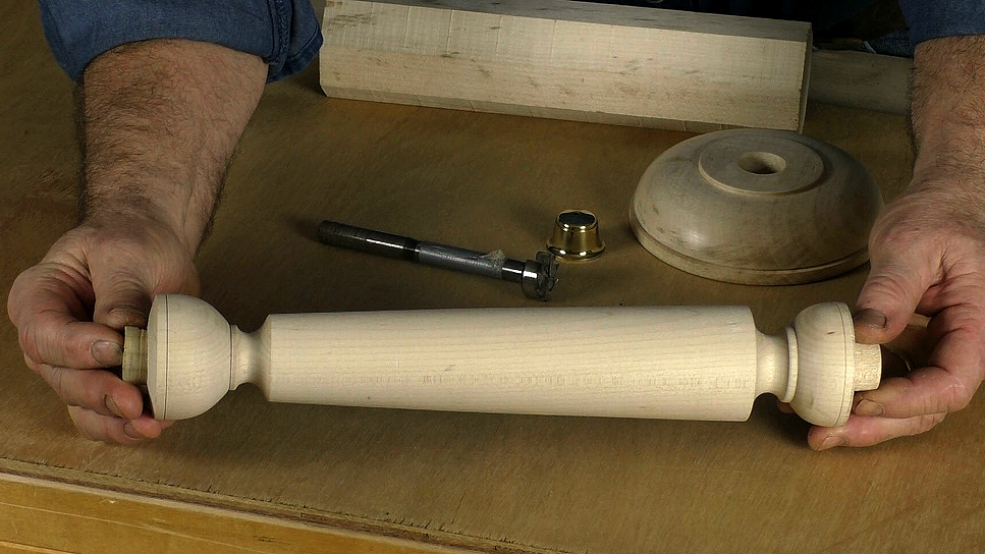
Turning: You don't need to turn wood yourself; just find a turner who'll do it for you - and there are plenty out there.
Holding: You'll see I take the effort to make a special jig that helped in the marking out as well as the carving - details in the download. In the past, I held this sort of work in my lathe, so the jig is particularly for those of you without a lathe. Jigs are really only useful when you want to be highly accurate and/or repeat something, and are usually worth keeping. We'll use it again when we come to Barley Twist carving. If you invent your own way of holding, say for a one-off, remember: the wood mustn't move while you are carving and ideally should readily rotate when you need it to.
Warning: Never have a candle sitting directly in the wooden candlestick. If the candle burns down, the whole wax-soaked candlestick can go up in flames. Believe me - I've seen it happen twice! Search online for 'brass candle cups' or 'brass candle inserts'. As you can imagine, woodturners use them.
For subscribing members, below is my pattern, holding jig & tool list for the Rope Candlesticks Project.