Menu
This is a bit of fun! Also quite surreal: visitors looking on the other side of the wall for the arm...
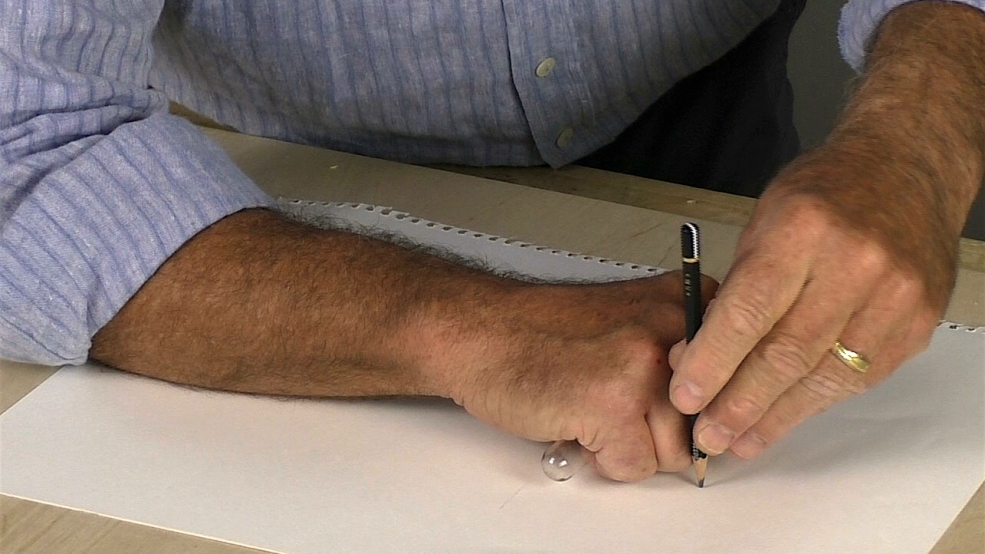
Download: There is no download for this project: You will be using your own hand as the model, take a working drawing from it at the start, and referring to it continually as you go along. This has the challenge of holding the image in your mind as you return your hand to the carving tool, but the advantage of not losing your model!
Your Hand and Anatomy: I chose my right hand and it might be easier for you to follow if you do the same. Look up a little anatomy if you don't know any. We are interested in what's going on beneath that the skin only as impacts the surface anatomy: bones, muscles, tendons etc. Ask yourself: What causes this bit to stick out? What's that crease, or that fleshy lump? It will help. At the end of the day, however, you'll need to really look at your hand as a whole, carving what you see, not what you think should be there.
The Vase: The hand wraps round this and is our main reference point. Searching online, I found a 15mm. diameter test tube, with a lip and 125mm long, that seemed just right. You could substitute a dowel and turn the hand into a paper towel holder.
The Hole: I made mine 16mm to allow a little play; I supposed that the wood and glass tube might expand and contract differently. Be generous with the dimensions of your starting block, especially towards the thumb side; ie. give yourself extra for the thumb and little finger when you bore the hole.
Holes: If you look at all the other projects on Woodcarving Workshops.tv you find I never just drill holes that are so intrinsic to a carving like you'll see here. I always advocate the Golden Rule: Carve the form into the space. (You can't carve space!) Carve the wood into what will be the space and the space will take care of itself. Here, however, the tube was so important that I felt I needed to set it in place first. This makes the carving look odd at times but in the end all works out fine.
Wood: I used Limewood, but any bland (only lightly figured), carveable wood will do. Try to get the hand from one piece of wood. If you need to join: offset the joint - don't put it down the middle; horizontal along the crease between fingers might be best, and match the grain pattern as best you can.
Tools: Nothing special. Meaning common carving tools that you'd use for most carvings and where exact size and sweep are not at all crucial. I've added important tool details on screen as we go along. I suggest you work through the whole project before starting, in which case you can make a note of the tools I use.
That's it. Enjoy!
And I hope to see all hands on deck in the Members' Gallery!

| 04 July 2022 19:53
Definitely my next project--and with so much scope for variation: hand out (for donations), V for victory... the whole host of hand gestures.
Very nice indeed!
| 08 June 2021 14:33
This looks very interesting, both as an intriguing project and as a lesson in anatomical carving. I've been itching for a new project, and I might have just found it! I'm going down to the basement to check my supply of basswood right now.