Menu
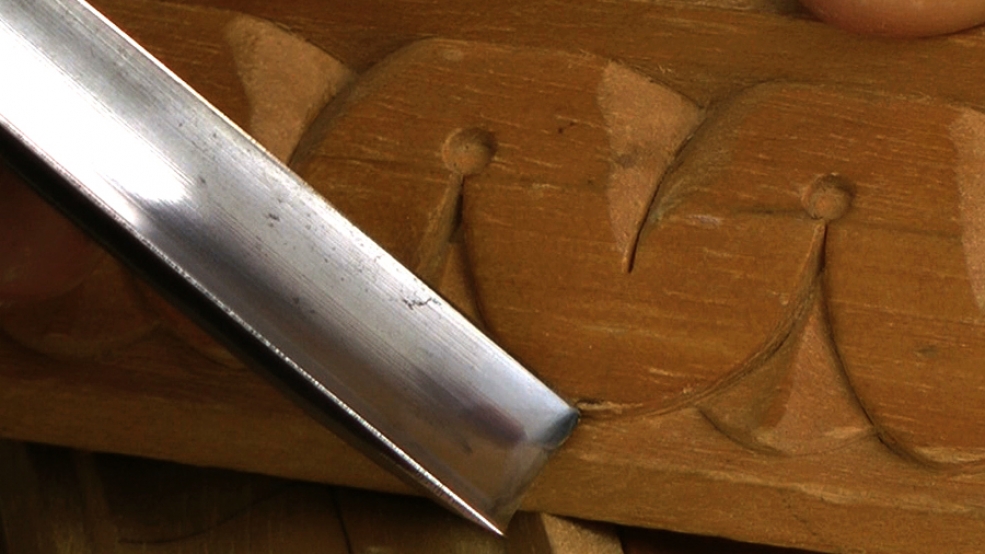
In this lesson we finish off the classic Waterleaf moulding by dividing and shaping the tops of the main leaves.
If you vary the widths of the repeating units, you must of course change the widths of the leaves and thus the appearance and 'feel' of the waterleaf moulding. As a suggestion: when you have completed a length of what I've shown you here, carve another length with a width of a unit reduced by, say, a quarter. You'll need to adapt your tool selection but you should be able to see how the carving works and how the tools are the carving.

| 06 July 2017 16:38
Marco - Clean boards (knot and split free); clear white to pale yellow with no discolouration (foxing), and with tight annual rings (choose heavy boards).
Buy more than you think you need!

| 06 July 2017 07:52
Chris, I'm buying lime for my work but I want to know how to choose the wood. What criteria do you suggest for choosing suitable lime for carving work.
| 18 March 2012 17:43
Chris - Nothing more glamorous than an eraser, I'm afraid! Medium soft pencil, doesn't indent the wood. Most of the lines are cut away anyway. And, yes, sandpaper is rarely used in mouldings.

| 18 March 2012 00:41
Chris,
Interesting video series, I enjoyed it. How would you handle the residual pencil layout lines on the finished moulding? Sanding I'd guess, but you don't seem to favor sandpaper in most of your projects.
Chris Harrington