
Commissioning your Tools - part 1
01.09.21
I've just started carving and I'm a bit confused. The manufacturers of the carving tools I bought say they are ready to go, and they look like they are to me.
But you tell me they’re not?
Many inexperienced carvers think that new carving tools must be correct in all aspects. Would it were so!
Sure, usually you can start to remove wood straight away, but I've yet to find a new carving tool that I can’t make cut more efficiently, or feel more comfortable.
- Several firms give you a secondary micro-bevel which raises the cutting angle, putting stress on your wrists and diminishing control. You don't want that.
- Others give you a black oily surface that gets onto the carving.
- Or handles that are too small or too big for your hands; not in line with the blade or have sharp corners.
- None will give you the very important inner bevel, or even know whether the outside bevel angle they set relates to anything at all
Bottom line: Almost certainly your new tool has been 'sharpened' in a factory by a non-carver. You, as the carver, needs to get that tool sorted so that it cuts so efficiently it becomes an extension of your hand.
And, with this, we are entering into the important subject of commissioning.
To commission a carving tool is to bring it into full service: taking full control over it from handle down one end to the cutting edge at the other; tuning its feel and appearance; the efficiency of it’s action; getting it just right for you and your individual style of woodcarving.
Commissioning ends with a carving tool so sharp, so efficient and so pleasant to use - so, mine - I don't notice it.
So, when I get a new tool, I go through a process of commissioning, 'sorting it out' before it appears on my bench. Important! You only need to do this once. After that it's all about maintenance - strops and the like.
Where to start?
Commissioning doesn't begin at the sharpening; it deals with the whole tool. So let's start there. Grab that new tool and inspect it ...
1. Check the 'feel' of the blade. Hold it as if you were going to carve with it:
- Are there sharp edges or corners that might dig into your hand? After an hour's carving, the sharp side here can give you a blister. Grind or file them off. Soften the hard edges with a coarse slipstone, as here, a file or the grinder.
- Is the surface black and oily? This oily finish transfers to your hands, and so to the work. Keeping your work clean from the start is of prime importance. Rub back with fine sandpaper and honing oil; wash with warm, soapy water. It is not necessary to remove it all. You just want to be able to handle the tool without your hands getting dirty.
- What about the shape of the blade? Is the bend on the shortbent smooth and polished so that it will slide along the wood? Or the corners on the fishtail protruding enough for what you want to do?
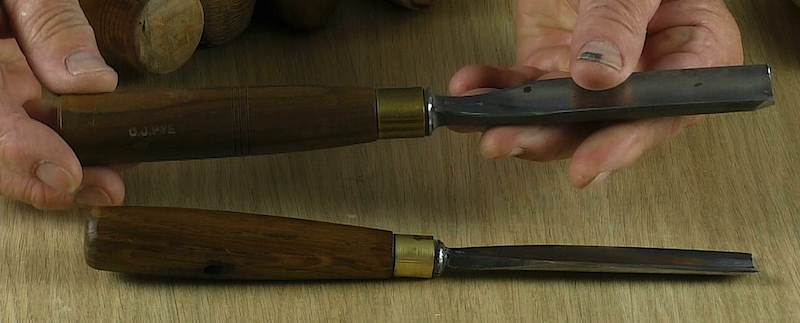
2. Check the 'feel' of the handle. Grip it in many different ways:
- Is the handle on straight?—align it properly Is the handle too small, or too big? You may need to change it. Manufactures often have a limited range of handle for a wide range of tool sizes. Perhaps you need a longer handle on a small blade?
- Is the handle suitable for using with a mallet? If the tool has no shoulder (bolster), you may need to add an end ferrule to prevent the handle splitting.
- Sharp corners to press into the palm of your hand? You're looking at blisters! Octagonal handles in particular can make your palm sore. Sand the handle with fine paper, Thick varnish that tends to make your hands sweaty. Cut it back.
- And what about that ferrule? Does it did in? Does the shoulder overhang?
- While you're at it, put your name or mark on the handle
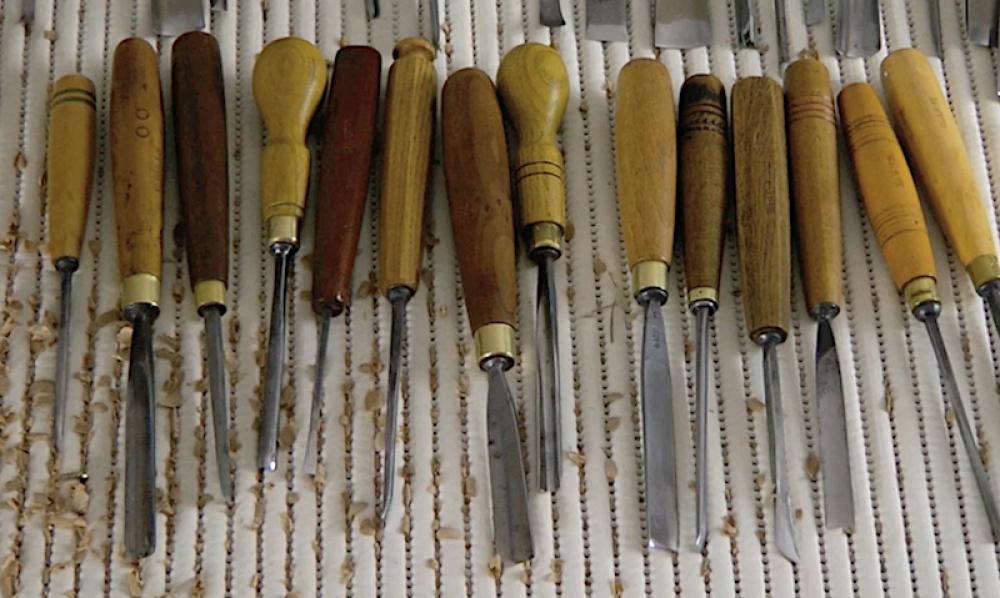
Why not inspect all your tools?
In the next blog (November), we'll move on to sharpening. Getting that tool to function at it's most efficient.
Further videos:
- There are many videos about commissioning/sharpening your carving tools on Woodcarving Workshops. Have a look here: https://www.woodcarvingworkshops.tv/videos/sharpening
- Here's one on Changing Handles