Menu
An applied, pierced carving decorates this box.
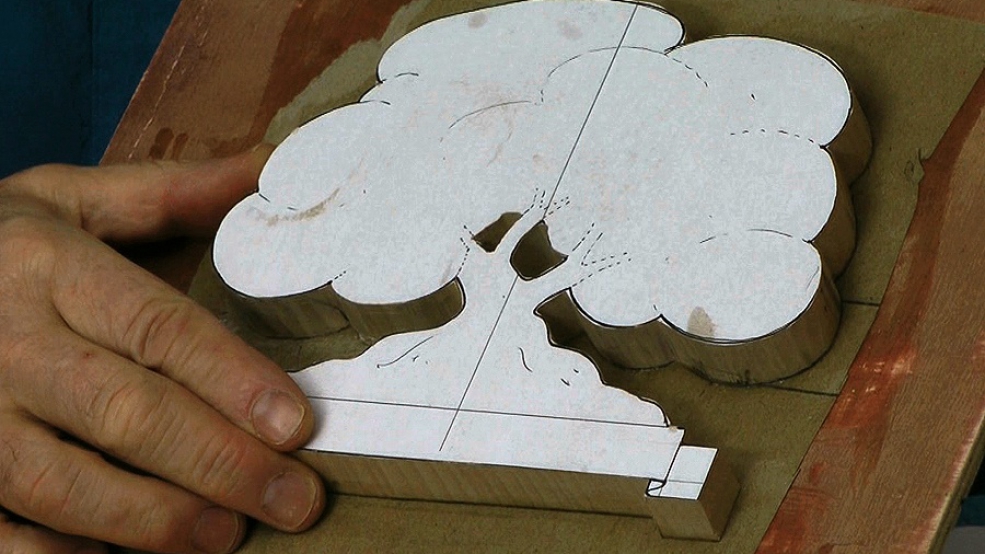
This stylised little tree would look good on a bedhead or mirror frame. Eventually, but not yet, I'll letter the scroll-like banner at the bottom with a name. The foliage itself uses only a few straightforward cuts - and this is a good lesson in traditional carving: By repetition, of something simple you build up a big effect.
In this lesson we set up to start carving. I'm holding the project by the 'paper sandwich' method. You can see another lesson on this technique here.
For subscribing members, below is my working drawing and tool list (as a pdf) of the Tree Box carving.

| 12 September 2016 16:40
Hi Chris. After my last message I found an alternative method for cutting the shape out under 'In the round projects', the pelican. Wish I'd seen it before I stuck my wood to the backing board, although I have managed to chisel the shape out now. Perhaps a link in this earlier project video might be useful for others who are beginners like me - it looks much easier!
| 12 September 2016 09:57
I don't have a band saw and am not very good with the coping saw yet, so roughly sawed out the shape of the tree and stuck this to the board. Is there a particular video you can direct me to that shows how to go about removing the wood with a chisel to get a good outline for the tree, as I guess I have to do this next. Thank you.

| 03 January 2014 20:36
Ann - You could use a coping saw (Tools & Equipment > Bench Tools > Coping saw). Then again, glue the tree to the backing board without cutting the spaces between the branches. Carve down into the spaces and through the paper into the board. Then, when you remove the tree by slicing the paper, voila, there will be holes...

| 01 January 2014 15:07
Excuse me - not the toots but the main branches coming into the base of the tree...
| 01 January 2014 12:39
Chris, you mentioned the scroll saw I believe used at the roots. Without a power tool, how could one approach that need to form the roots leaving the appropriate spaces?
| 21 April 2012 14:25
Tom - It's our Limewood. In the US, a tight-grained Basswood would be equivalent. The tree also looks great in Brazilian Mahogany. It' the tight-grain that's important, the leaf edges are quite sharp and in, say, an open-grained wood like Oak, would tend to break off. Hope you a have a go at it!
| 20 April 2012 16:31
Hi Chris. Really enjoyed watching you carve this tree, you make it look so easy. What wood were you using? I know your tools are very sharp but even so it seemd to cut very easily. Tom