Menu
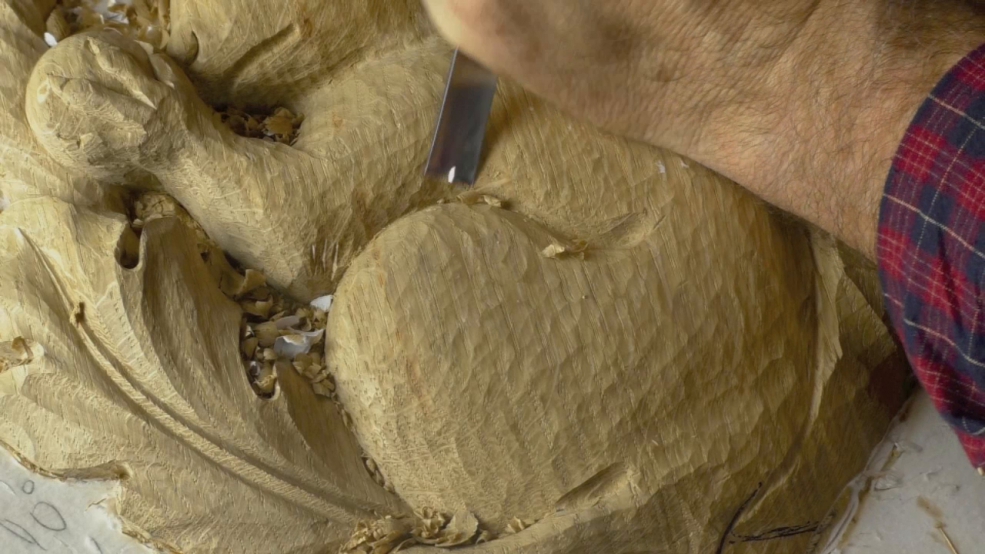
Fur and hair are best created in a loose but logical way. In this lesson you'll see me using a variety of tools and overlaying flowing cuts. I really make it up as I go along!
Before you carve into the surface of your squirrel, shape some spare wood into the forms and practise - a lot - until you feel confident.

| 18 November 2016 20:09
The extra time and effort put into this series of Videos made them exceptional. The verbal explanations of your thoughts, while carving were jewels of information.
I think that this series is one of the best that you have created. A real work of video and carving art.
Bob Fuqua

| 24 June 2015 16:43
Ann - These grooves that I'm cutting, either with the V tool or deep U-shaped gouge, will be cutting diagonally across the grain to a more or less extend. That means one side of the groove will be WITH the grain (giving a clean, burnished surface) ane the other AGAINST the grain (gving a torn, dull effect). It's just the way it works. Thus, you have to REVERSE the direction of the cut on the torn side (only) to be working with the grain and thus give you the nice surface. And this is the case whether you are working in the round or in relief. So, wherever you are not getting that nice burnished effect, cut that surface in the opposite direction...

| 24 June 2015 13:40
Chris, I love the tail work and the fur: very valid ideas for various situations. When applying your approach to fur on an in-the-round work on dark wood with very distinctive grain, I find it difficult to get a nice burnished effect with the many directions involved. Any thoughts?