Menu
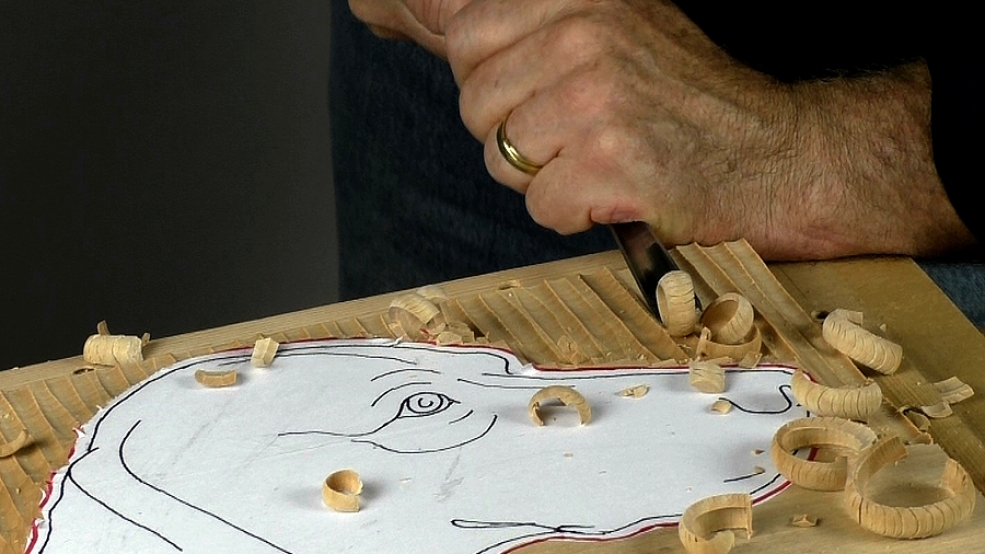
That red line I draw around the carving is my 'buffer zone'. It protects the carving as I 'plough' down the background. You don't need to draw it, but the line does make a strong visual reminder.
Note how I am resting my lead elbow on the wood for the low angle grip and putting my whole body behind the cut. Also working across the grain and mixing 'running' and 'rocking' cuts. All good technique to practise.
This 'lowering' is an important stage. If you take care to plough the surface flat and just above the finish level, you'll find the next stage, levelling, is very quick.

| 25 January 2019 15:56
Larry - You are quite right. All we need is a buffer zone to protect our subject as we work our way lower. The V tool works well for shallow relief, where we might make one or 2 passes at the most.
Here, we'd just be doing work with the V tool that we don't need to do. Creating a buffer zone, especially imagined and not drawn, is a bold way of working compared to using the V tool, and much more efficient.

| 25 January 2019 03:05
I am repeating the previous question from Mr. C. LeGrand, wondering why you do not begin like all (?) previous lessons, by using the Vtool to outline for protection? My guess is that your red outline is another method giving the same protection effect that's easier than trying to cut a V down to 1/2 inch. Is that right?
| 17 January 2018 22:13
Charles - The reason I line in (outline the subject) with a V tool first is to protect the subject from the 'wedge effect' that would happen if I just stabbed in all around with carving tools.
You can learn more about this wedge effect using the directory here: techniques > cutting to the chase > the wedge effect
| 15 January 2018 01:10
Why do you not start by outlining with a v-tool, then lowering the background?
Thanks.