Menu
Usually you see me carving in quite an exact way, which suits most of what I need to do, the edges and ribs of the dory for example. However, one can also carve in a very 'loose' manner and that's what's needed for thinks like rocks, clouds and so on. It's like two style of painting: precise like, say, Vermeer and looser like, say, Turner. (There's a giveaway: yes, my 2 favourite painters!)
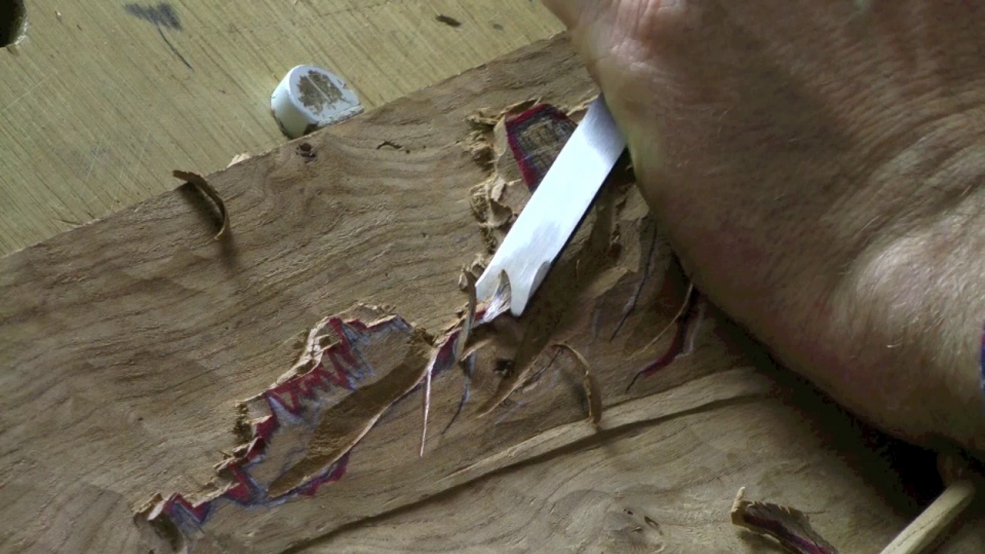
It's really quite difficult to describe how 'loose carving' of this sort works, you need to not think too much and work the surface. It's also difficult lesson to film because talking about it as I do it works against the need to be silent and just do it. Nevertheless I think we can give you a sense of how I go about it. In particular I'll show you quite an anarchic cut.
You must practise on spare, similar wood first; and keep practising until you feel you've got the idea, or at least not too stressful. And it is fun, because it's like playing and, as with playing, boundaries and rules are down. The rocks in the foreground: bigger and chunkier because closer to the viewer. I tried to angle the planes of the rocks to keep working the perspective.

| 15 July 2016 11:44
Laurent - Honestly, the best thing is to get a piece of wood and just mess around! See if you can copy the final effect and, if not, just keep experimenting. There is no one way to carve rocks - but just relax and have fun!

| 13 July 2016 05:20
I wish i could watch you carve the rocks.

| 10 August 2014 10:27
Chris, of course you're right (as always!) on both points: one needs to practice; and it's fun!