Menu
Low relief is, by definition, very flat, not much in the way of 3D, so not much wood for you to remove remove. But what matters is from where you remove the wood; you have to make what you do remove tell. Strong clear edges and outlines help very much. I've chosen not to undercut around the edges but you could do this if you want.
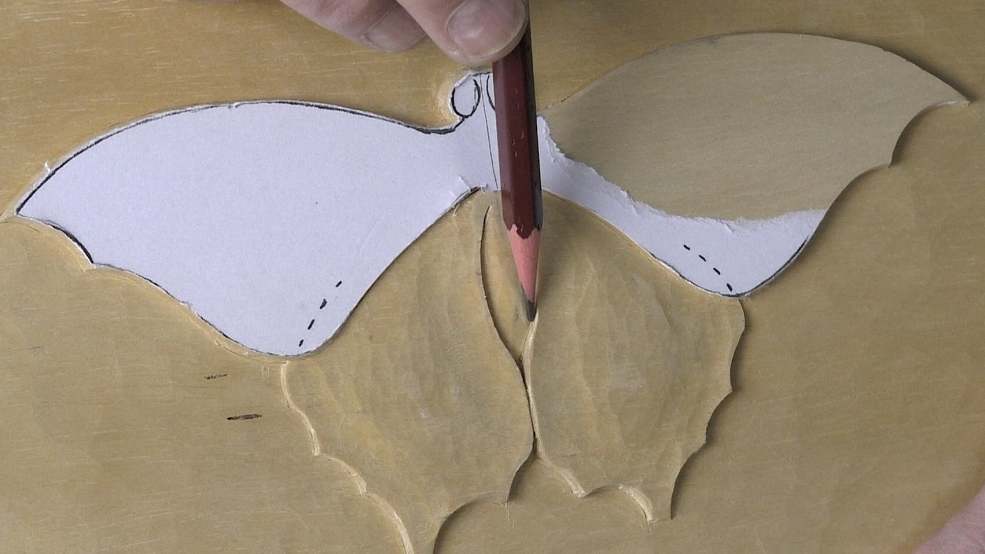
Butterfly wings are also flat, and colourfully patterned. But this is not a butterfly; it's a piece of wood. What we can do as carvers is to 'stylise': keep the qualities of wood and suggest... Feel free to make different suggestions!
Punching: You'll see I use a nail. Actually, most of my punches are make from simple nails or bolts. But notice that my nail has a wide, flat head which won't harm the wooden mallet when I tap it in. If your choice of nail has a narrow head, you'll likely damage your wooden mallet. Switch to a hammer.
Related Video:

| 16 April 2024 19:57
Thanks for the comments, Chris. I decided to redo the low relief and have posted it on my page for comparison with the other. I learned how to be more subtle and gentle with the force of the tool. I also learned to use a #7 12 mm Pfeil for the delicate refinements since I don’t have a 6 mm #2, only a 12 mm #2 Pfeil. Since the #7 gouge was so rounded, I didn’t dig in the edge while in a deeper place. Fun to use a deeper gouge for a shallower one’s purpose as in your video! Bill

| 12 April 2024 07:58
Bill - Put that sandpaper down! But do make sure your carving tools are keen.
I think what has happened is that you have hollowed the wings too much as they lead to their edges; and where the wings meets the body, you have short grain more or less sticking up. It's unsupported and therefore very vulnerable to crumbling.
I'd use a delicate slicing cut with a flat gouge on this crumbly edge and take it back to clean wood then put the hollow back in - but only a gentle concavity; you're not making a channel. Much subtler. That way the new short-grained edge is buttressed and supported, rather than standing proud.
It's looking pretty good but, as a thought, why not carve another?
You'll do a second one so much quicker and invariably a second one is better since you'll have learned so much from your mistakes. You'll have a chance to redesign and carve, say, the the eyes or body differently.
You could also cut the outline out and 'paper sandwich' it to a waste board; then mount it on a contrasting piece of wood?
It's a great exercise in carving. Well done and keep going!
| 11 April 2024 21:31
If it helps, I added an image to my projects page.
| 11 April 2024 13:50
Hi Chris, I did pretty well with this project but didn’t use the reverse Side of the gouge to do the body. So in a few places it tore along the original clean edge. How would you recommend redoing an edge between body and wing? When I shave a little off it is so delicate it crumbles again on the very edge. I am trying not to resort to sanding that little edge. ???? Thanks, Bill