Menu
This double project appears here as a continuation of our Beginners Carving Course: taking a more detailed look at low relief carving and extending this into high relief. We'll also be adding a few more very useful tools to the beginners' kit.
On the other hand, this project is a good refresher for more advanced carvers and these butterflies look great when added to boxes, cupboard doors etc. You could even cut them out and carved them á la paper sandwich.
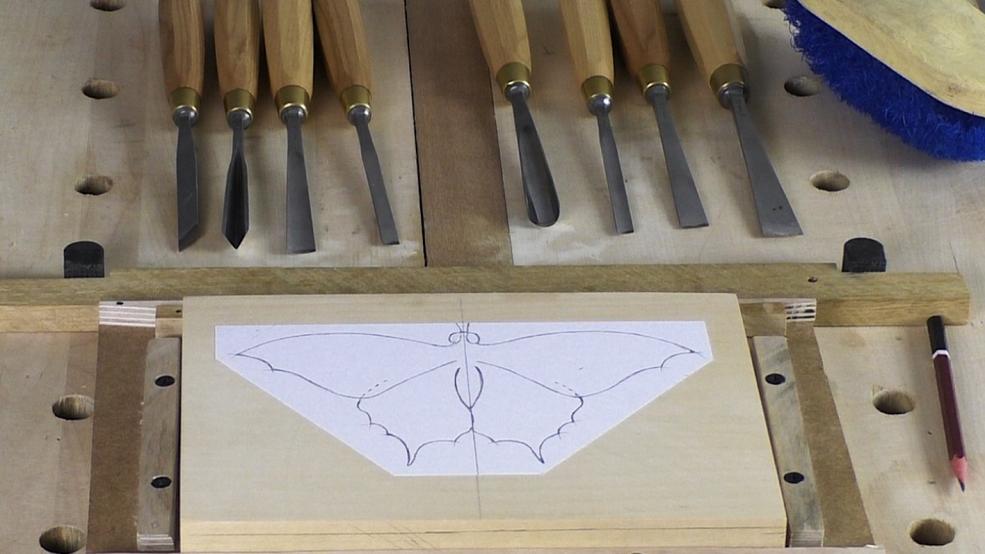
Using the same drawing for both carvings gives you an interesting perspective on the difference between high and low relief, both in their final appearance and the techniques in creating them.
Do these butterfly look like difficult carvings to you?
That's because you are looking at the finished carving! From the drawing to those final cuts with your carving tools is a process, a step by step journey, and that is what we will undertake here. You just need to take it a step at a time. Each step builds on the one before, which is an efficient way of working; you'll see on every other relief carving on Woodcarving Workshops, simple to advanced. Get it under your carver's belt!
Suggested Reading:
I strongly recommend my book Relief Carving in Wood, A Practical Course (2019), which you can get from Amazon UK; Amazon USA; Echo Point Publishing; Classic Hand Tools (UK) and many other bookshops.
And don't just read it. This book really is a practical course and the result of years of instructing - actually follow it in conjunction with what you are doing here! You'll find your understanding of the carving process and ability with woodcarving tools will make a quantum leap.
Here's a link to a page on Woodcarving Workshops with all my books.
Related Videos: