Menu
This video is taken from the Liberty Pelican project.
Wood is a 'natural' material; it's affected by the surroundings: moisture and temperature for example. It's also unpredictable and although we make the best assessment we can, we can still be coaught out by our wood behaving in a way we weren't expecting.
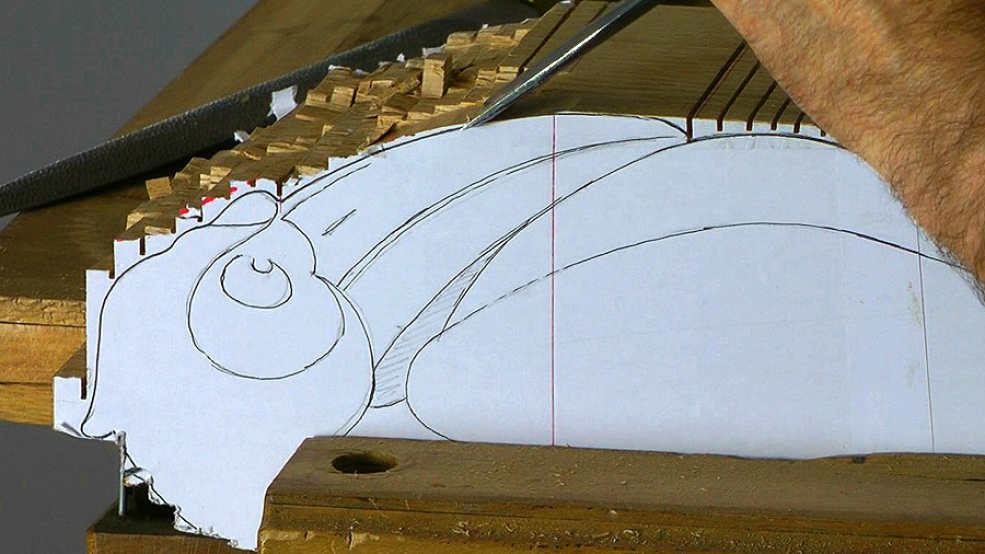
Here, the piece developed a small crack, which I had to do somethign about...

| 25 November 2013 08:07
William 15:05 - You can see here, and in Merlin project, my preferred method: carefully planned and match wedges of the same wood after everyhting has settled down. I never use epoxy or other filler; it just never looks right, nor will it take a finish in the same way as the surrounding wood, though I'm sure it would be fine for a painted or gilded carving. I'll fill finer splits ('shakes') with harder wax as I finish the carving as a whole.
| 25 November 2013 08:00
William 15:01 - No, I have one set of carving tools for everything. I do find that the edges, which have been giving a fine finish on Oak, show some scratches on Limewood, which reveals any flaw in the tool immediately. So I do have to touch them up. But the bevel etc remain the same. Good quality Limewood and air-dried mild European Oak - the woods I work in - are very similar in hardness. If there was a big difference, then I'd have to think about 2 sets of tools.

| 24 November 2013 14:03
Chris. How do you deal with splits in you final sculpture when this inevitably occurs? Fill with epoxy and sawdust or epoxy filler? Inlays and onlays glued with super glue or epoxy? Other?
| 24 November 2013 14:01
Chris. Tell us like it is. Are you using a second set of tools especially for oak (an other very hard woods?