Menu
There are quite a few ways to hang your relief carving on a wall, more than I show you here. But these are my favourites and the ones I use.
As an aside: One day, someone will take your carving off that wall. Not perhaps for a hundred years, but it will happen - and then they will look at the back! You could write them a message but, more importantly, make sure that the back of your carving and the fittings you use to hang it are as presentable, as well crafted, as the front. That's another sort of message.

| 16 August 2020 11:28
Dirk - That's a tricky one! I've never made a relief carving that thin unless it was part of an applied decoration, glued and pinned to a mantlepiece for example.
I would expect your carving to be very light and, remembering it's a sheer force on the hanger at the nail, I'd think you'd be fine even with very short screws.
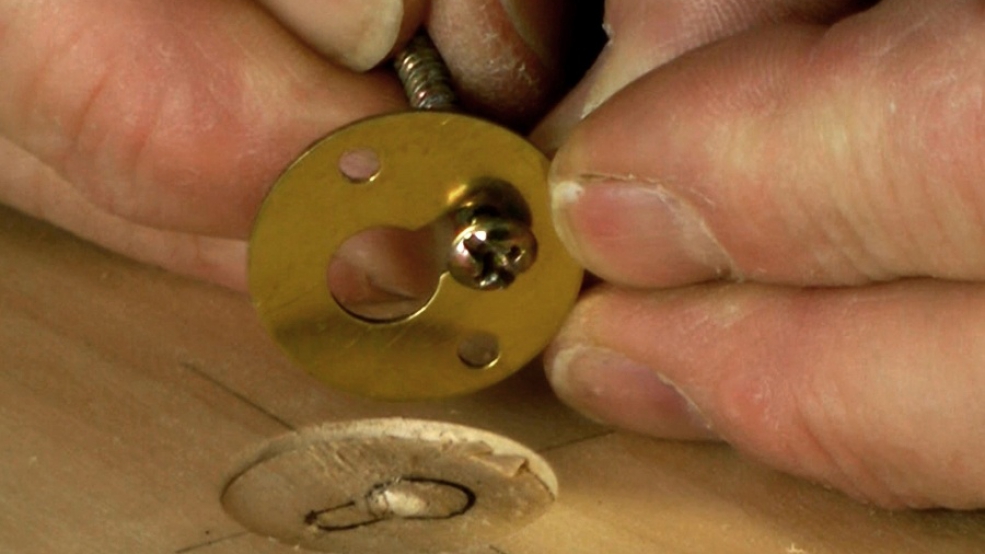
Having said that, you don't have a lot of wood to screw into! And you may find that the natural balance place for the hanger is sited where the background is too thin. So, alternatively, you could glue on the sort of fixing you'll see at about 2:20 (the little plate and triangular holder for the nail). Use a 2-part epoxy resin, which will also ooze through the nail holes pre-drilled in the plate and I think you'd get a very firm and safe fixing without hazarding screws.

| 15 August 2020 20:34
Wonderful videos and extremely helpful advice! How would you recommend hanging reliefs made from thin pieces of wood? I recently made a 12"x14" relief that is about 1/3" (a bit less than 1 cm) thick at it's thinnest points on the background, and I am a bit worried a short enough screw/nail won't hold it up sufficiently.